Are your circular saws being guided properly? Hopefully, the answer to that question is “Yes, they are.” A guided saw is a saw operating between two guides. This combination requires good guides, proper clearance and alignment to be effective in its purpose. The majority of guides are set and fixed to hold a saw as straight and true as possible. This allows the saw to cut a straight and uniform board. Some machines do have guides with an arbor that pivots slightly to follow the contour or the sweep of the wood that is being sawn. Either design provides a critical function when they are operating, or guiding, properly.
But, for several different reasons, this area falls short of its goal more than a mill would like.
For saws to perform as they should it takes precise and accurate guides holding each one in a position that achieves uniform sawn lumber. Of course, this is what quality control is checking for in the mill and what is required in today’s market. A guide must not only be near perfect but also hold that same tolerance after the babbitt pad is attached and cut. This procedure demands well maintained equipment and accurate measuring devices. The targets and tolerances for proper guides is basically “near perfection”. Therefore, guides that are out of calibration or a dirty work area are serious problems.
Guides should be treated and handled in a manner that does not damage any part of this precision instrument. This means placing them, like fine china, on a clean surface that would not cause the guide to be nicked or blemished in any way. Guides should always be cleaned and kept clean. It is equally important for the hanger shoe, saws and edger to be clean and free from sawdust or debris before loading. A small spec of sawdust or debris between the guides and the saws – literally no more than a few thousandths of an inch – can mean misalignment and thousands of board feet of lumber that don’t measure up!
A guide that is not “cut” properly will cause saws to run poorly, reducing the grade of the lumber or even rendering the lumber useless. Guides should be checked periodically, and, in some situations, before every use. It is too important to assume that someone else or the other shift checked the guides.
Checking guides before they are placed in the machine may help deter any start-up problems and may prove to avoid downtime. This simple maintenance can prove to be well worth the time.
This can be done by simply using a couple of pairs of C-clamps to hold two guides together. Working from a good clean table top, take your saw and place it between two babbitt guides that have been milled and ready to install. Use the C-clamps to secure the guides tight as they would be when installed in the machine with the saw sandwiched between the milled guide babbitt pucks. With everything laying flat, the saw should have .003 to .004 space between the top guide puck while the saw rests completely flat on the bottom guide puck. The amount of space measured divided in half will give you the guide clearance in your saws. Keep in mind that the more your machine may be out of line or worn, the more guide clearance you may need for the saw plate between the guides. If guides are improper, it could cause misalignment with the arbor and feed rolls. This will not allow saws to stand up properly and produce good lumber.
The guides in an edger and/or gang is just one important part. We think it’s an important part. Poor guides will cause poor alignment that will have an effect on production and/or sawing accuracy.
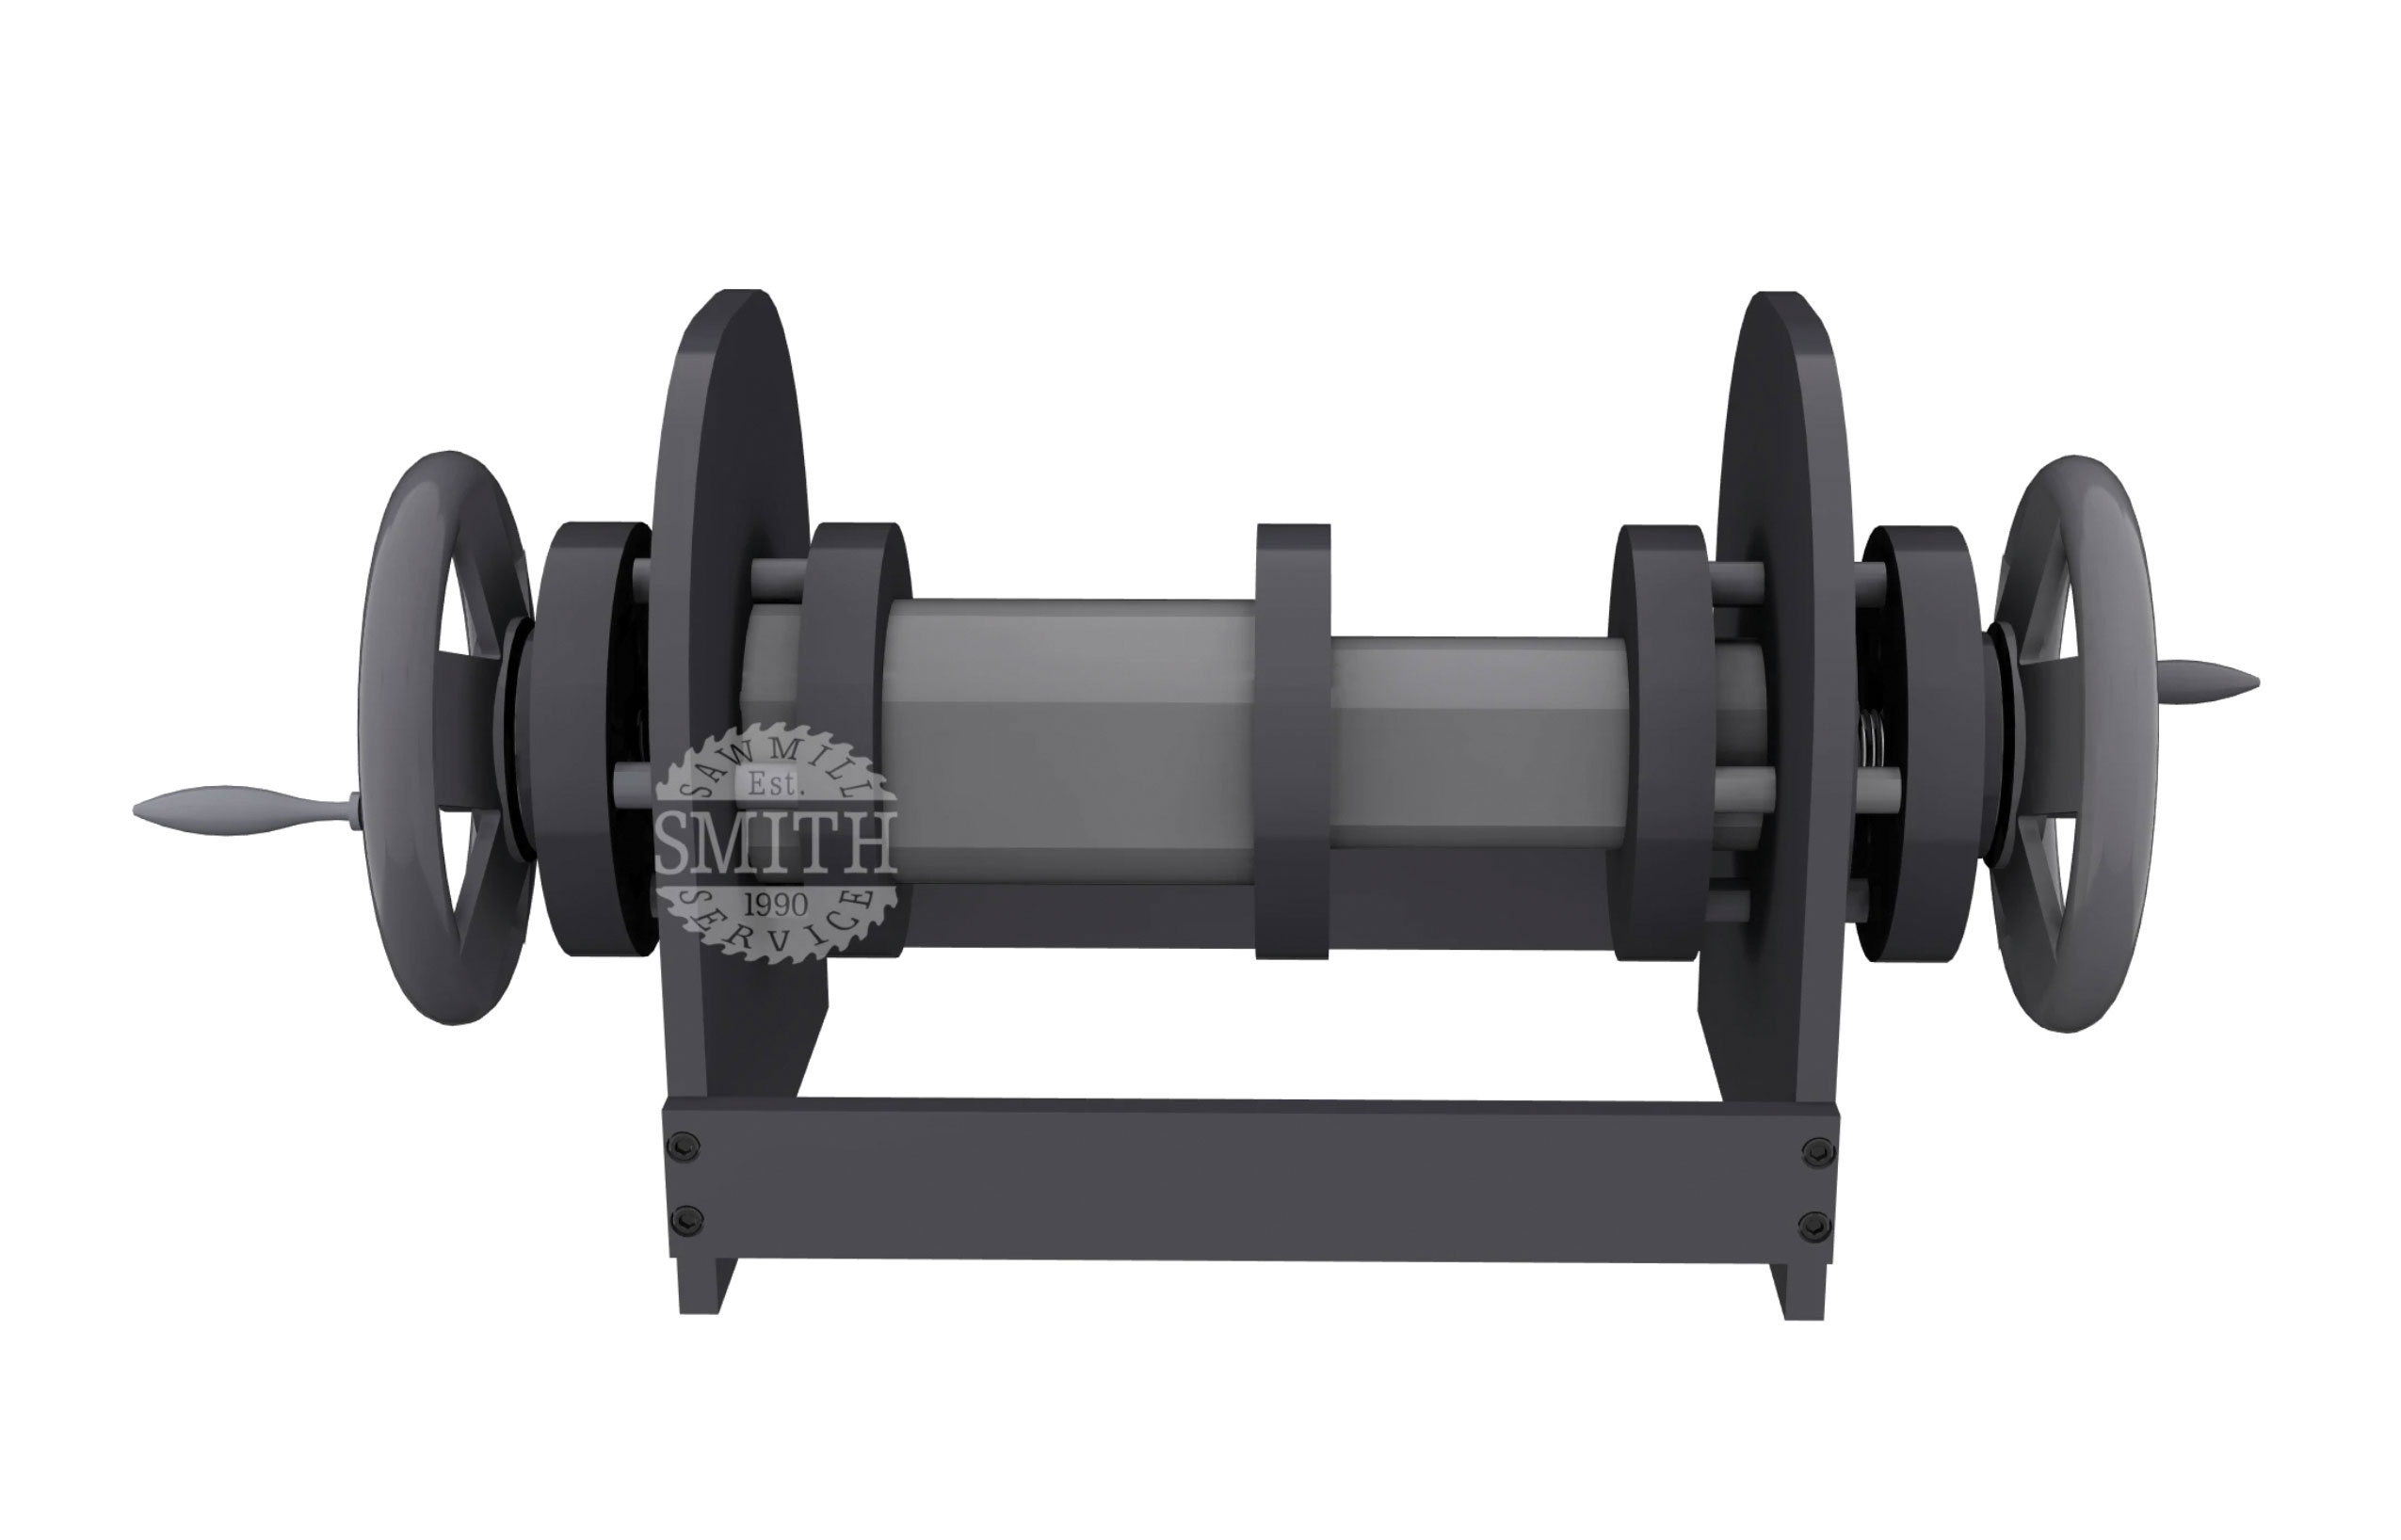
There are different suppliers that would be glad to get you information on a shop manufactured guide check stand. I believe every mill would benefit from knowing their guides are correct before putting them in the run. Above shows a picture of a typical guide check stand.
Paul Smith is the owner and CEO of Smith Sawmill Service LLC with locations in Texas and Louisiana. Reach him at paul@smithsawmillservice.com.
Print this page